Almost done! Now you have to do some make up work with Cinema 4D R8.
| back |
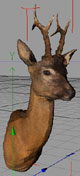 |
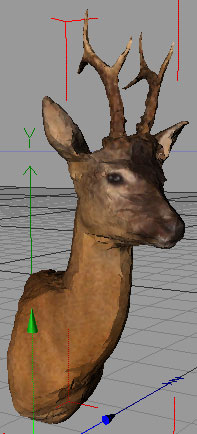
Import the VRML file saved from iModeller 3D Professional in Cinema 4D. The model is a little bit "wrinkled" and should first be smoothed.
|
 |
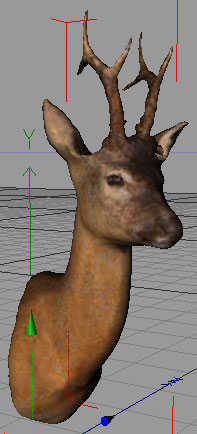
This is done using a phong tag. Activate the polygon model in the object view and choose "New Tag -> Phong" from the "File" menu. This is a slight
improvement.
|
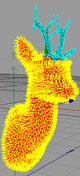 |
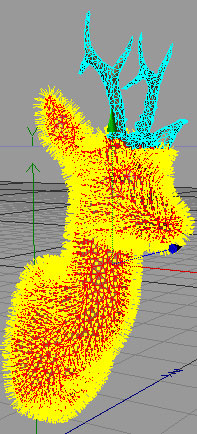
Additional smoothness can be added to the fur of the deer. Select the areas you want to smooth and select "Structure -> Align Normals".
|
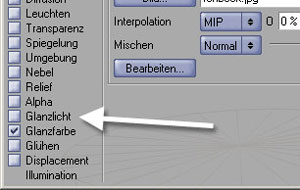 |
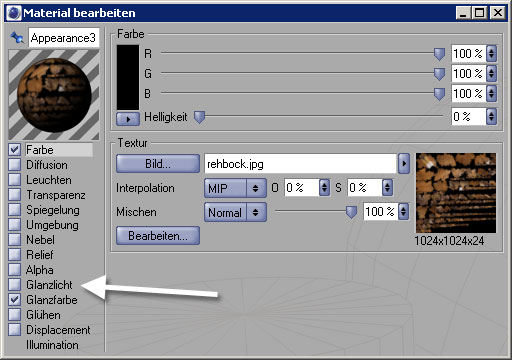
Adjust the material's specular. Since the deer in reality does not have any specular at all, you should deactivate it completely.
|
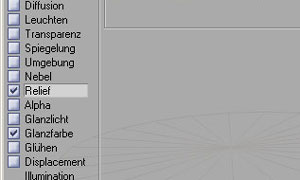 |
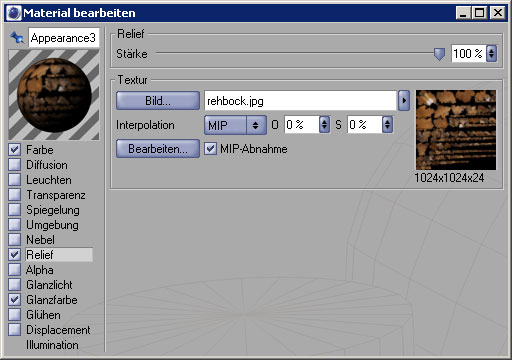
To accent the furry impression, you should use a bump map texture. Since it does not have too much contrast, set its value to "100%".
|
 |
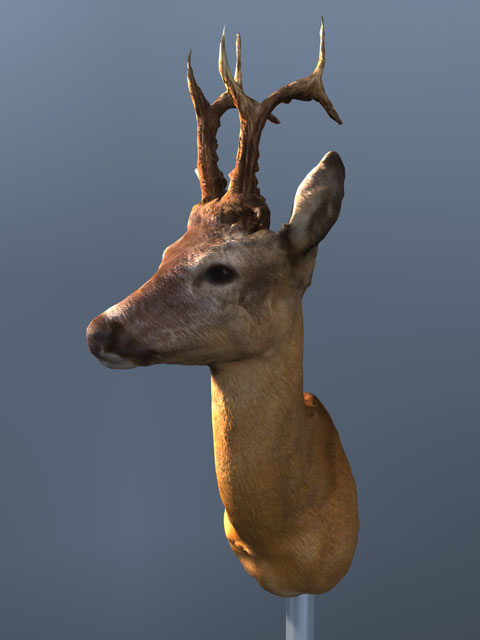
Finally, add some stuff to the scene. We used a sky object with a blue, washed out texture, added a yellow light source on the upper left of the object
and used radiosity for realistic rendering.
Click here for a big shot of the final result!
Click here to download the final C4D files (450Kb).
|
|
Congratulations! You finished this tutorial successfully.
|
| back |